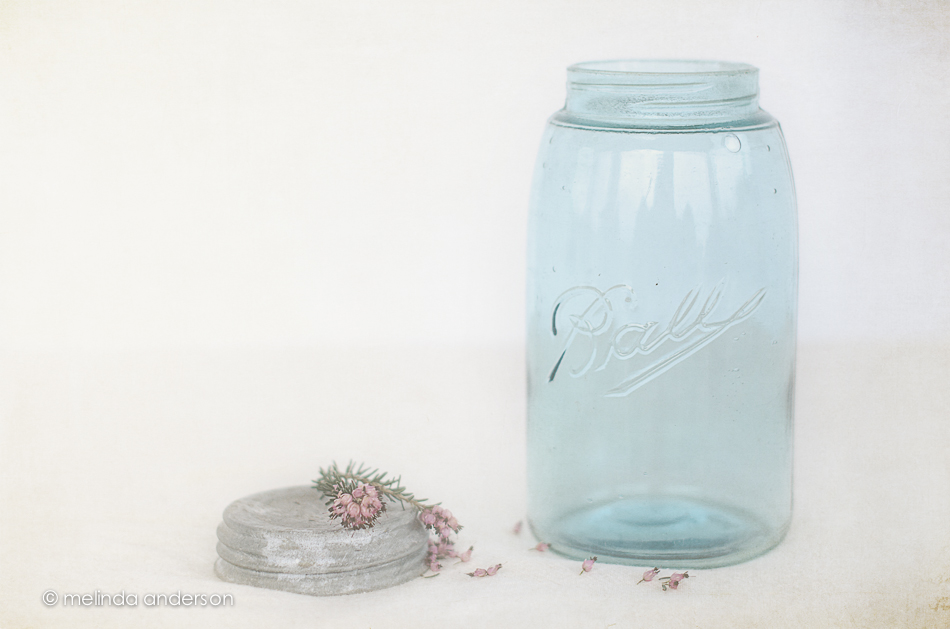
 I’m ridiculously excited about this! When my photoblogging friends were here on Wednesday, Terri started talking about her Mason jars and how you can date them by looking at the way Ball is written on the glass- fascinating! After lunch, we strolled through a few antique stores, and I bought my first old Ball Mason jar (and yes, I bought a Blue Ridge saucer as well)! I can tell by the loop at the end of the word Ball (called a triple L) that this jar was from 1896-1910.
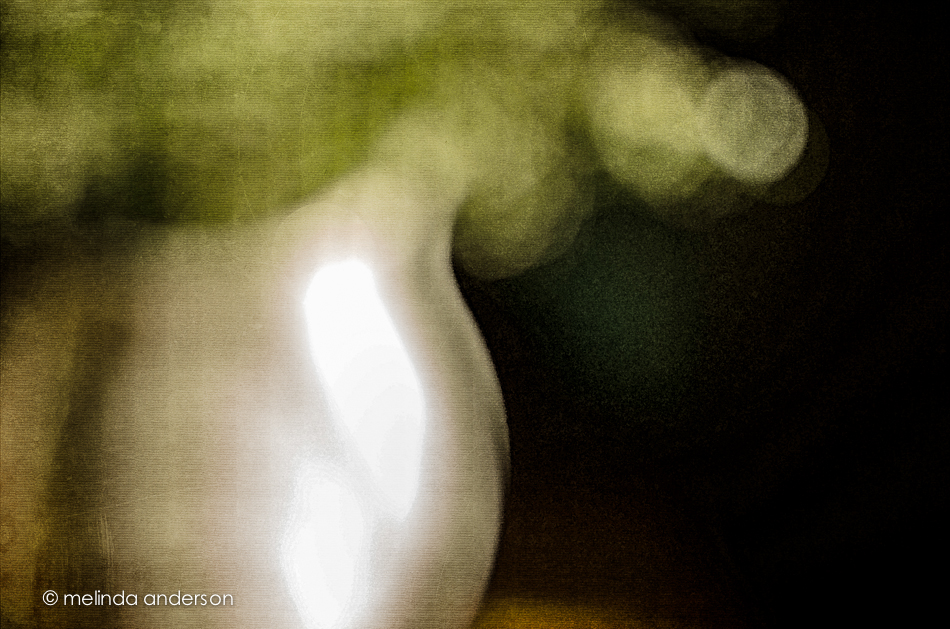
I’m sure you will be seeing this jar again in more photos. I took it out on the porch to photograph, but today’s light isn’t the best (so far it’s cloudy and gray). I brought my white backdrop and tablecloth out to lighten things up and added a sprig of heath- but I couldn’t do anything about the lack of morning light. Another day. . .
Something tells me this won’t be the last Mason jar I buy!
Linking up with Friday Finds today.
Editing Notes:
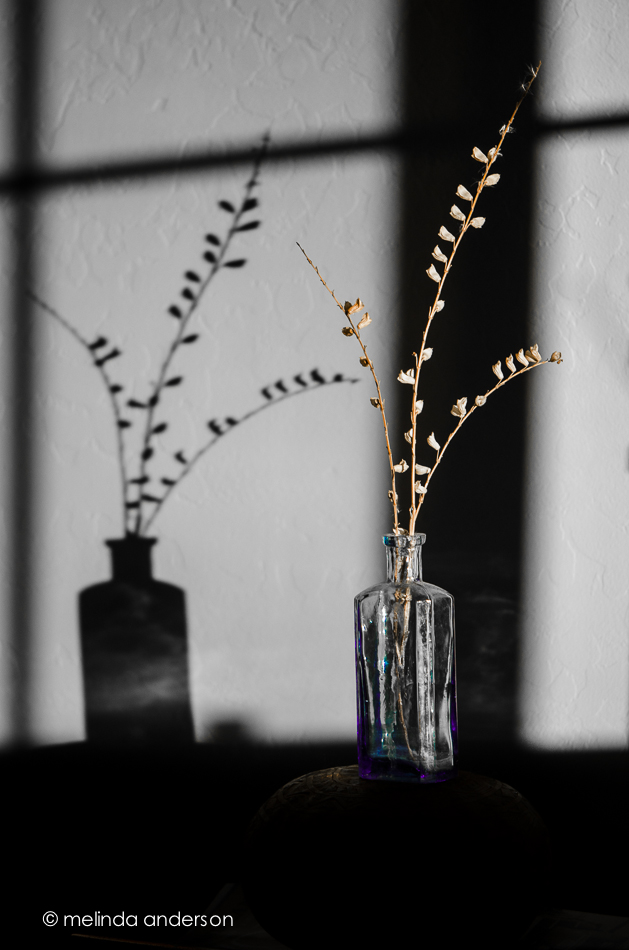
I am so behind in my 2B (Beyond Beyond) lessons! A few weeks ago, I discovered that the lessons had started up again (evidently quite awhile ago). My notifications weren’t coming to me for some reason (probably in my spam folder). It wasn’t until this week that I started looking at what I’ve missed, and now it’s almost over. 😦 Thankfully, the lessons will stay up, and I will have a lot of fun catching up- will probably do some marathon sessions. I actually used what I gleaned from Lesson 50 to edit this still life. Kim provided us with a set of workflow presets she uses to edit her photos= awesome! I already had many presets I’ve created or downloaded- they simplify my life so much when I want to edit quickly. For example, I had created some for different types of vignettes, for clarity, for midtone brightening, adding warmth, etc. But I had never thought to organize them into a folder- and put them in the order I would use them. They are all just randomly in a favorites folder along with other favorites I use all the time. Big head smack! I am so inspired to get in there and organize my presets! So today, I used Kim’s workflow- and it worked great! After taking the image through her presets, I popped it into Photoshop, added the anna texture, and I was done!