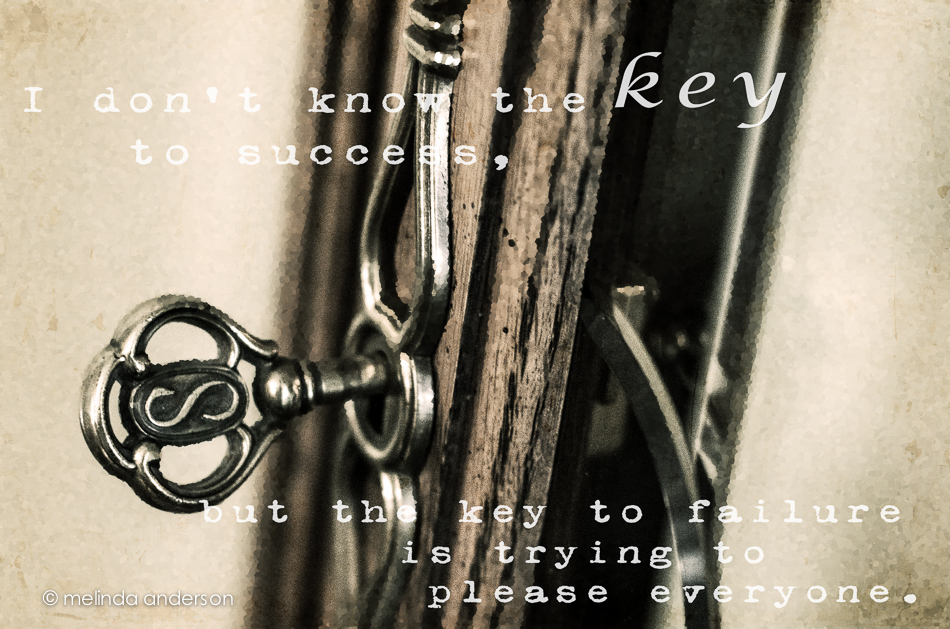
It’s so much fun to get back into Kim Klassen’s Beyond Beyond lessons- I seem to need a boost now and then to stimulate my creativity. Today’s lessons were how to create “magic” textures using textures that have already been created. Kim gave us a sample image to play with and then challenged us to make our own magic textures (using one of hers as a base) to add to her image.
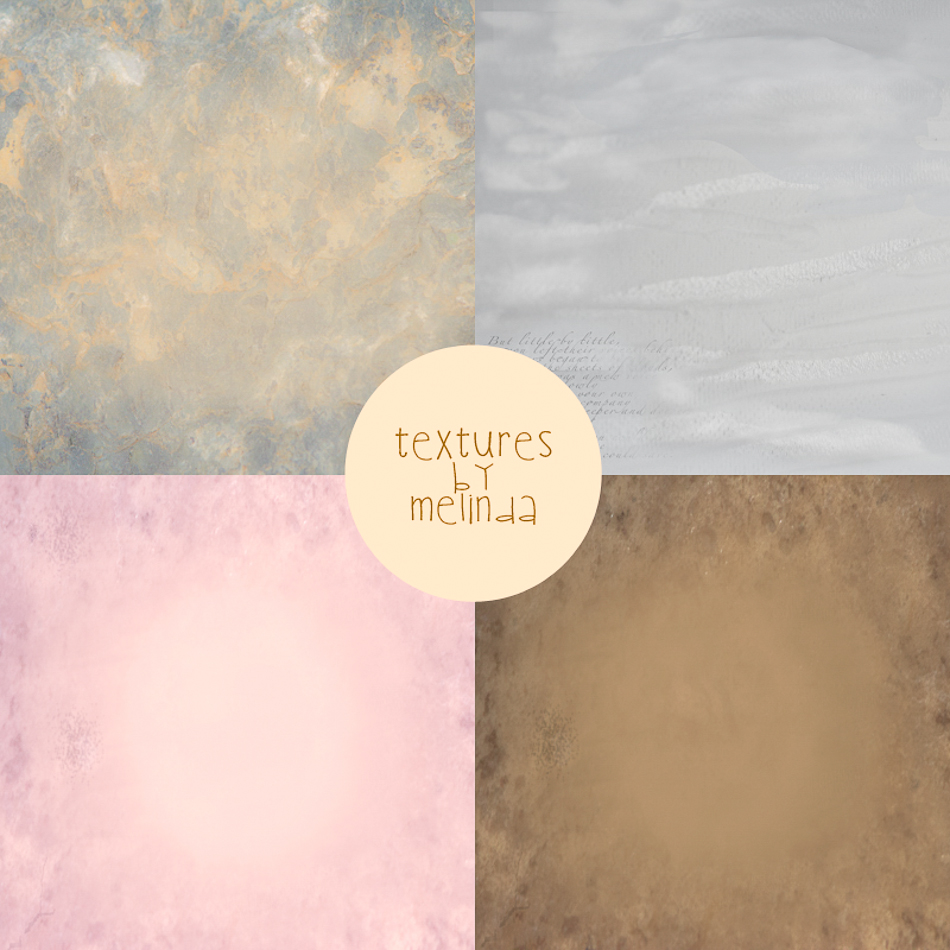
Before bringing the image into Photoshop, I cropped it to a square (not sure I like cutting off the cup handle, but I wanted it to look different from hers) and used her preset, dark days. In Photoshop I used two textures which I had converted to magic textures- dollard and sybil (2 layers). And I added text (with a layer of dollard clipped to it).

Then I broke all the rules!
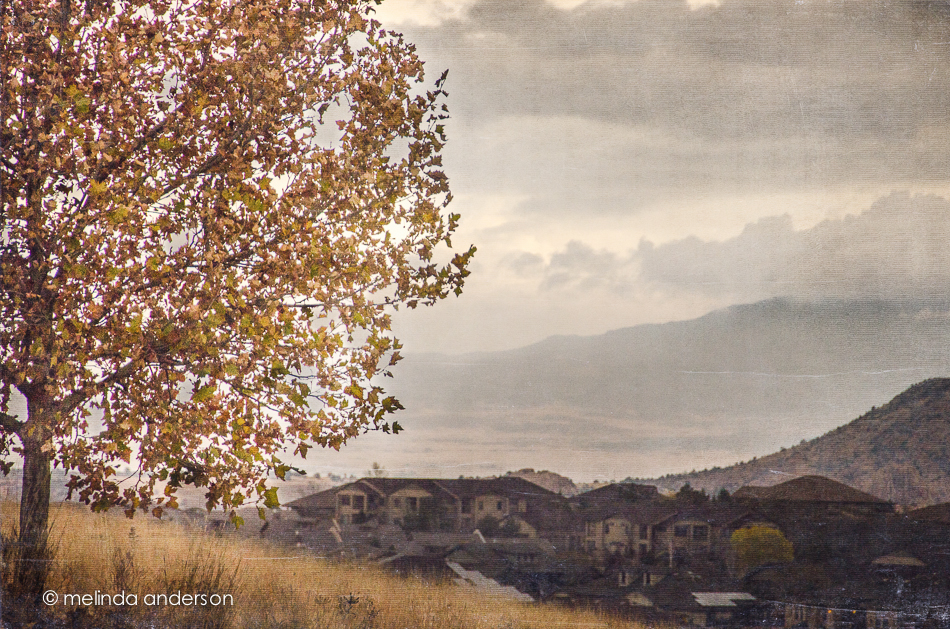
The magic texture effect works best with airy images that have a lot of white in them. But I tried it on a shot I took this morning of the view from our driveway of clouds and approaching rain (it actually started to rain while I was taking the photo). I like how the magic textures (1301 and dollard) gave a kind of canvas-ish effect. I reduced opacity on both and masked off some of the white strokes that appeared in the image.