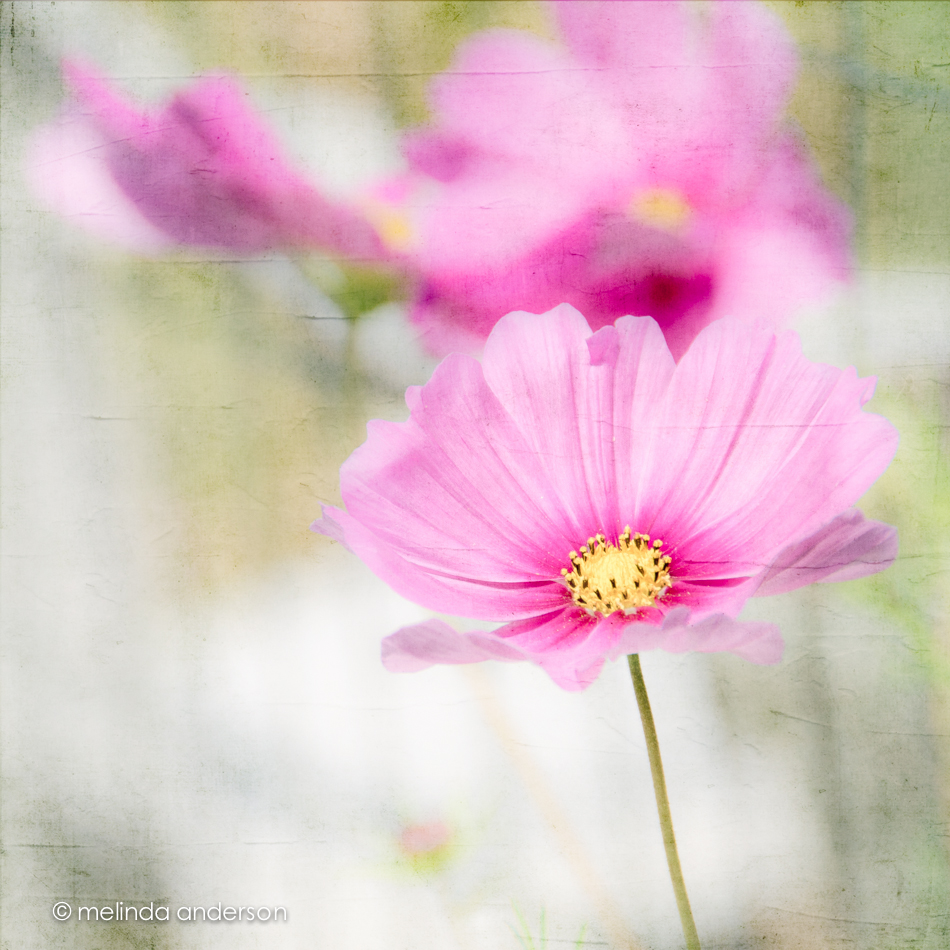
Last week’s visit to Benicia’s Community Garden yielded some nice flower photos- here’s one of my faves, edited with 3 layers of Kim Klassen’s 1301 texture. I used all three of the “tweaked” textures I created for Sunday’s post.

Last week’s visit to Benicia’s Community Garden yielded some nice flower photos- here’s one of my faves, edited with 3 layers of Kim Klassen’s 1301 texture. I used all three of the “tweaked” textures I created for Sunday’s post.
I’m catching up in my Beyond Beyond class too (although I am skipping around). The challenge was to take a favorite texture and edit it 3 ways to make 4 different versions. I used Lightroom 5, rather than Adobe Camera Raw, because it is my comfort zone and the method is almost the same.
Here is Kim Klassen’s 1301 texture (a favorite because of the creases), which I edited to change tones and to emphasize the creases in each one. The upper left square is the original.

Another idea suggested was to choose 4 different textures and simultaneously edit them the same way. Again I used Lightroom 5- with the AutoSync feature. Easy Peasy! I chose the cora, sybil, anna, and daisy from the Downton collection and made each grittier by increasing clarity and contrast, adding grain, deepening shadows etc. Fun!

This sunflower is gigantic! I have visited it three times where it grows in the Benicia Community Garden. None of my photos have managed to convey its size, so I am contenting myself with showing details- no macro lens needed here!

Textured with Kim Klassen’s 1301 texture for Texture Tuesday.
We were challenged in this lesson to go outside and shoot some photos with blurry backgrounds. This type of photo is what got me to purchase a DSLR in the first place. I had tried and tried to do this with my little Canon Powershot- but to no avail. After I had my DSLR a couple months, I bought a 35mm 1.8 lens, and then EVERYTHING had a blurry background! It is still my favorite way to shoot.
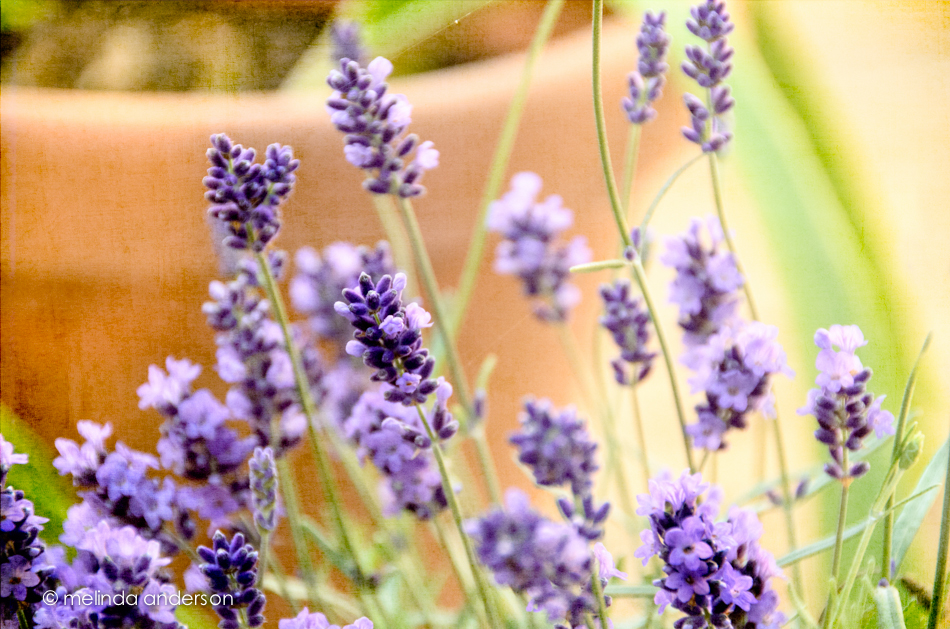
Here are a couple shots from my backyard yesterday afternoon. The lavender photo has Kim Klassen’s sybil texture added.

 for Texture Tuesday
edited with 1 layer kk_1301 and 2 layers kk_sybil
No idea what kind of berries these are- but they are part of my bouquet of roses. Last minute macro and Texture Tuesday edit:
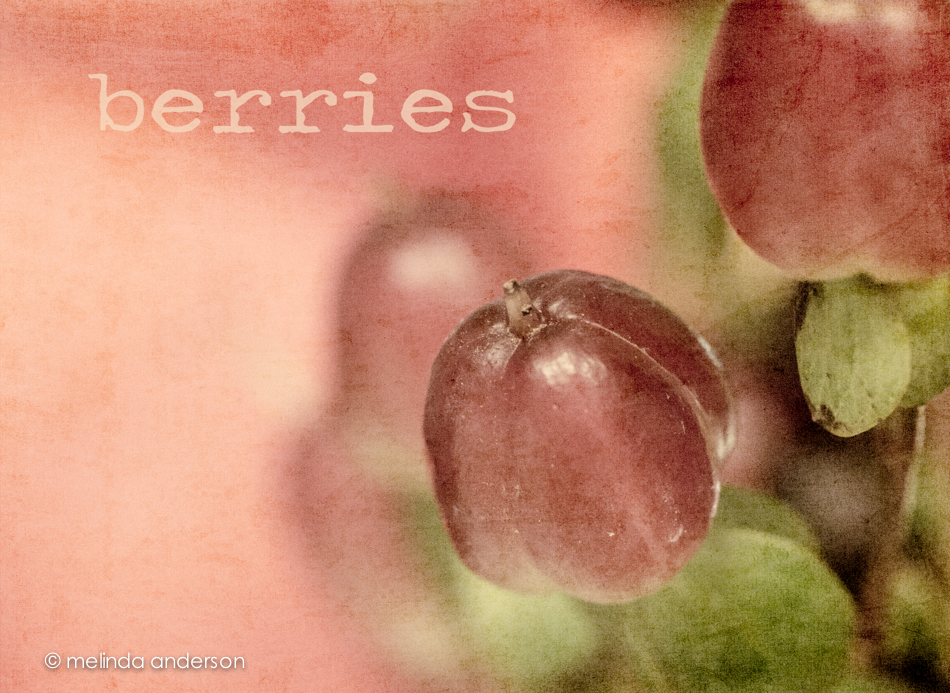
Editing notes: Desaturated and split-toned in LR; 2 layers of kk_anne added; desaturated a bit more with a black and white layer.
Excuses, excuses:
Our house is on the market (gasp!). Potentially, we could be homeless by August (a good thing. . .). Then . . . time to rent for a bit and find a new house to buy in Arizona. We are looking at it as a Big Adventure! But in the meantime, my photography and blog may be neglected occasionally. But, I’ll try my best- and I’ll be back with photographs of red rock and cacti!
We were challenged to edit a photo three different ways- experimenting with the tone curve, split toning, presets, whatever. I had just bought some gerbera daisies last night, so the choice of the subject was easy.

The first photo is my basic clean edit shot with a little cloning/healing in Lightroom 5 (love the updated tool!). You can see my walls are yellow.
The second is desaturated quite a bit- I really like the tones in this.
The third I took into Topaz Simplify- to give it a bit of a painted look.
And the last I edited with Kim’s kk_anne and kk_1301 textures.
I did several other versions as well, but these are probably my favorites.

textured with Kim Klassen’s kk_daisy
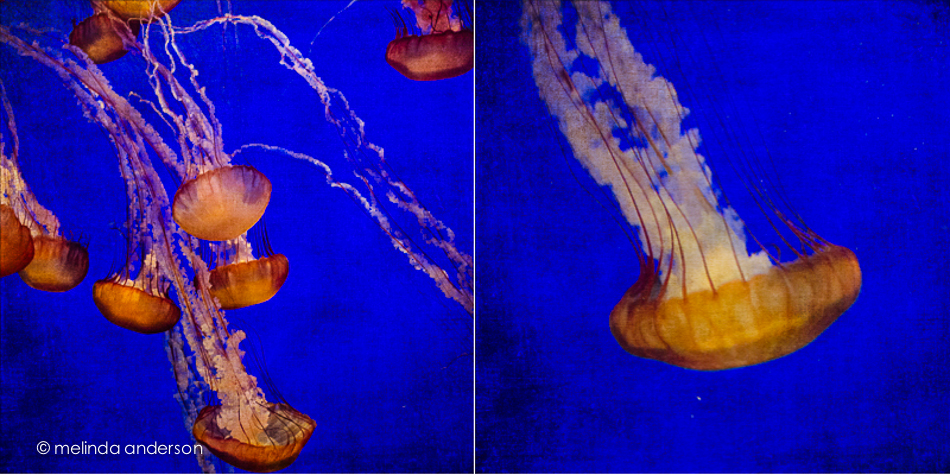
We spent just about 24 hours in Monterey this week to take our daughter’s family to the Monterey Bay Aquarium. Hundreds of photos were taken; here is one of just a few of sea creatures- the gorgeous jelly fish. Truthfully, I took just as nice shots with my point and shoot camera on my last visit. I think they are almost impossible not to photograph well in their beautifully lit tank. This one I edited with a texture, so that I would have something to post for this week’s Texture Tuesday (a couple days late). I used Kim Klassen’s teatime texture.
Kim presented a mixed bag of Lightroom and Photoshop tips, as well as some iPhoneography tricks.
Here is my grandmother’s sewing basket (decluttered!) and with some of her mother’s buttons in the foreground- and her darning egg. I desaturated the image and then added the kk_desert texture, which did a great job of masking the scratches on my old dining room table by adding new ones from the texture.

I don’t usually do much with my iPhone photos. I use the camera when I don’t have my regular camera, and I do edit them in Snapseed and PicTapGo- but then they tend to stay on my phone or go straight to Facebook. I decided that I would use an iPhone image for this blog post, so took a shot of flowers by my doctor’s office. I loved the tip Kim gave us about adding a black and white filter in PicTapGo and then fading the adjustment to just slightly desaturate the image. However, I went with a punchier edit, because it was the bright colors that attracted me to the flowers in the first place. I cropped in Snapseed and played with the Bright adjustment in the Drama filter- but ended up just leaving that alone. In PicTapGo, I warmed up the image a bit, added some “crispity-ness”, and then went full strength with color burn. And here we are!

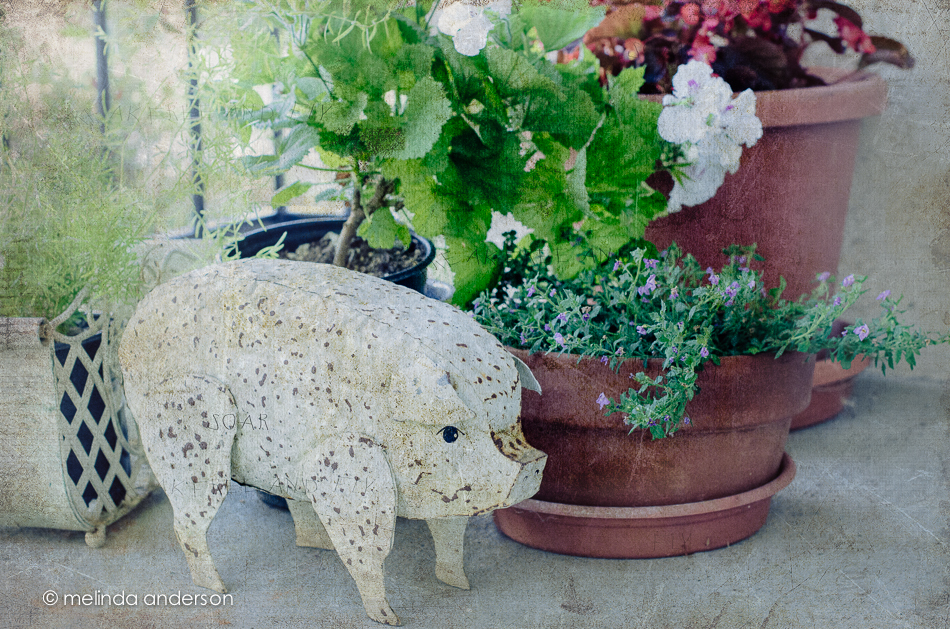
We are having a bit of touch-ups and repair done on our house in preparation for selling. One item that needed painting was the wrought iron railing on the porch and steps leading to the front door. After the railing was painted, the front porch plants (and front porch pig. . .) were returned in a new arrangement by the painter. Here’s a quick snap and edit done after dinner last night. I textured the photo with Kim Klassen’s breakfree texture, and it will be this week’s nod to Texture Tuesday (but on Wednesday…).
I’m multi-tasking today- another apple photo for Beyond Beyond AND I converted it to a black and white in response to today’s Texture Tuesday challenge. It somehow seemed WRONG to take the beautiful colors out of the apple photos, but, being pressed for time, that is what I decided to try- and I’m happy with the result.
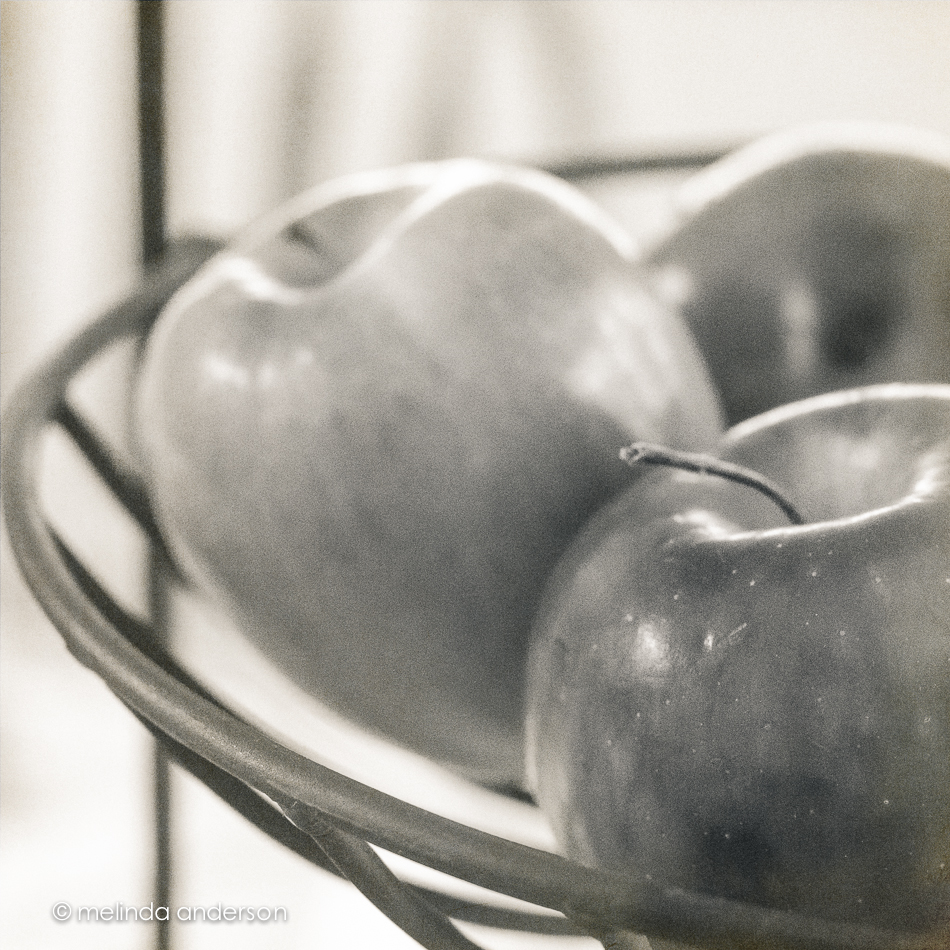
Editing notes: In Lightroom, I used a bit of a matte curve (just slight) and added grain to soften the image. After converting it to black and white, I darkened the shadows a little and added some yellow to the highlights and purple to the shadows (low saturation). In Photoshop, I added a layer of Kim Klassen’s anna texture, 100% opacity to the background, 50-100% brushed off the apples.
This week’s Texture theme is POP! For me, no color pops more than RED, so here we go. . .

Textured with two layers of Kim Klassen’s cool grunge.
Trader Joe’s had some little pots of lavender for sale, so I snagged one that was wilting rapidly in the afternoon heat yesterday. It has perked up nicely today, and it is now blogworthy! I do love lavender, and am so happy to have it in my yard again!
 Taken with my macro lens and texured with Kim Klassen’s 1301 and sybil textures.
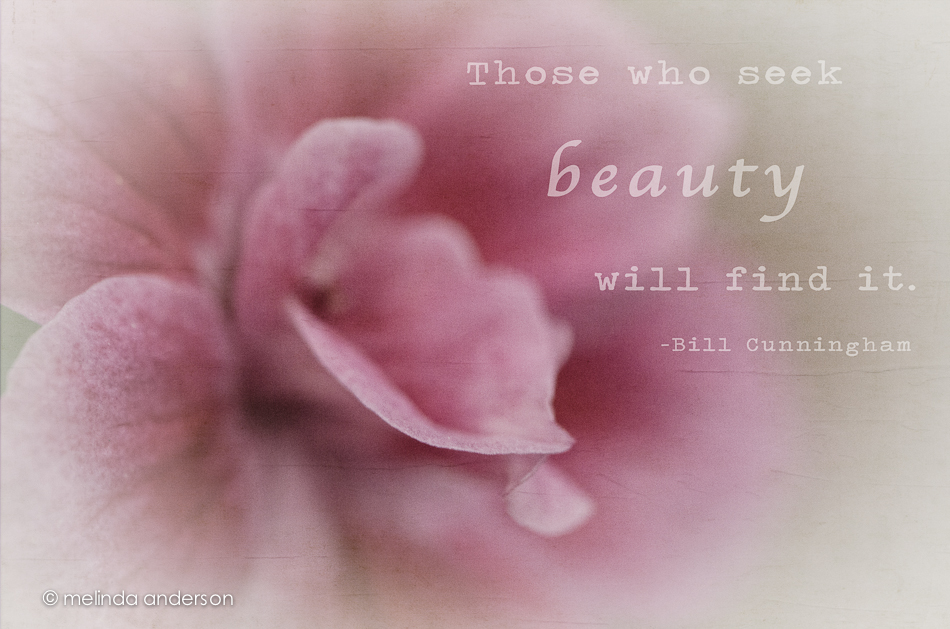
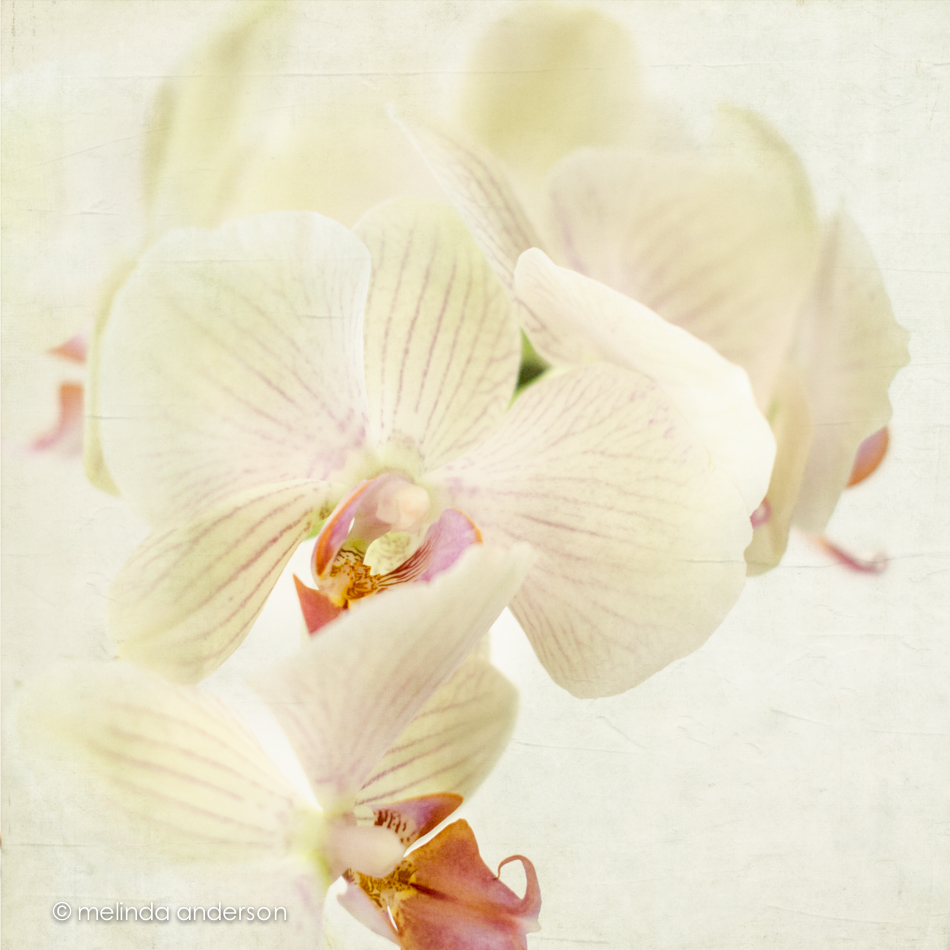
I rarely desaturate a photo to this degree- and I NEVER EVER use a white vignette. Never say NEVER!
I started with a Lightroom preset from Matt Kloskowski (he offers them free on his blog); this one is called Wedding Fairytale. I’ve actually used it a few times for flowers (it would be great for newborn babies too, I think); it’s a good one! I added a layer of Kim Klassen’s 1301 texture and this quote from Bill Cunningham, a street fashion photographer for the New York Times (this week’s Texture Tuesday’s challenge is to add words to our photos).
Speaking of beauty, head on over to Kim’s site for some links to beautiful textured photos; the link is at the bottom of the page.
